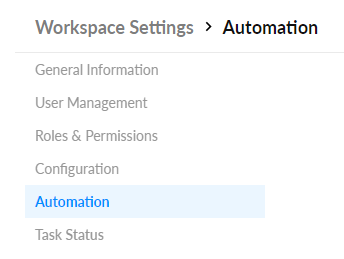
How to Access Automation?
Team Owner, Team Admins and Workspace Admins can access the Automation Tab by going into the Workspace Settings and clicking on the Automation Tab on the lower left list available in the Workspace Settings.
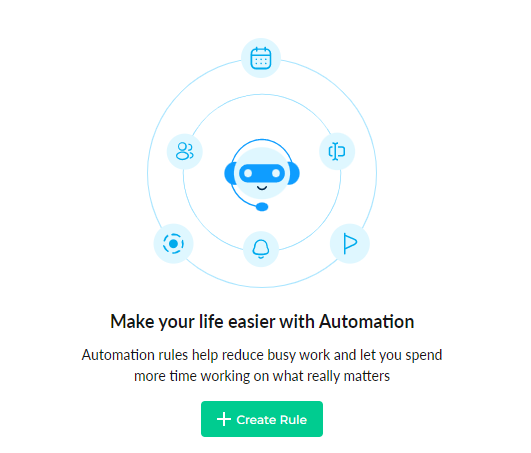
Creating Automation Rules
Team Admins, Owner and Workspace admins can create rules for automation from the Automation tab in Workspace Settings. Users can do so by clicking on the “Create Rule” button.
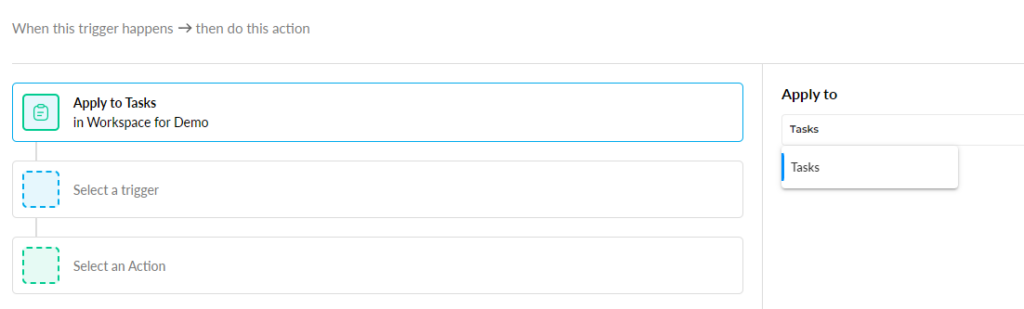
Clicking on the Create Rule button navigates the user to the Create Rule screen. Here, the user can choose to apply the rule to tasks in the workspace (selected by default). In future iterations, we shall give users the provision to apply rules to a certain task or tasks, projects, etc. But for now, the created rule will be applied to any existing tasks in the workspace or tasks that are created after the rule is created in the workspace.
As a default, the rule created will be applied to the active workspace and will be shown in the first component on the screen as Apply to Tasks in ABC Workspace
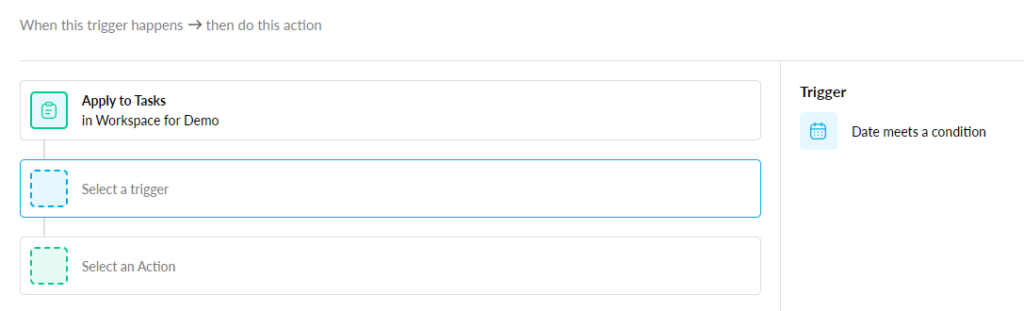
Adding Triggers to Rules
Triggers are the instances or conditions at which a certain action should be performed by the system. Currently, the user only has one trigger to choose for the rule, however, in future integrations, further triggers will be added. The trigger currently available is “Date Meets a Condition”
Date Meets a Condition
This trigger allows users to configure a date system field against which an automated action needs to be performed by the system. The user must click on the Select Trigger option and then click on the available trigger Date meets a condition. This will show the users the following available conditions and options.
Select Field which includes
- Planned Start
- Planned End
- Actual Start
- Actual End

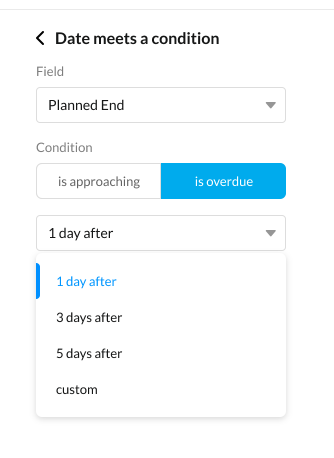
Conditions which include
- Is Approaching – This means the date is yet to occur or is occurring today.
- Is Over Due
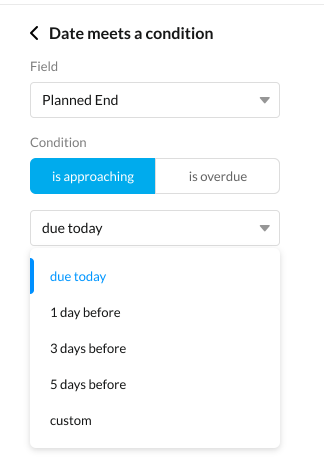
Against each condition stated above, the user can choose at what point should the action happen given the selected condition is satisfied. These includes:
- Due Today
- 1 day before
- 3 days before
- 5 days before
- Custom – which allows users to set either of the following:
- Count of days
- Count of hours
- Count of Minutes
- Count of Weeks
Note: Be default, 1 day would be selected
Adding Actions to Rules
Once the users are satisfied with their added triggers, the next step is to add Actions to the Rule. Actions are instances that need to be performed by the system to add meaning to the Rule.
Users can add Actions to the rule by clicking on Select an Action pane available beneath the triggers. Once the user clicks on this, the Actions tab with available actions appear on the upper right area of the screen. Currently, there is only one action that the user can perform which is detailed below:
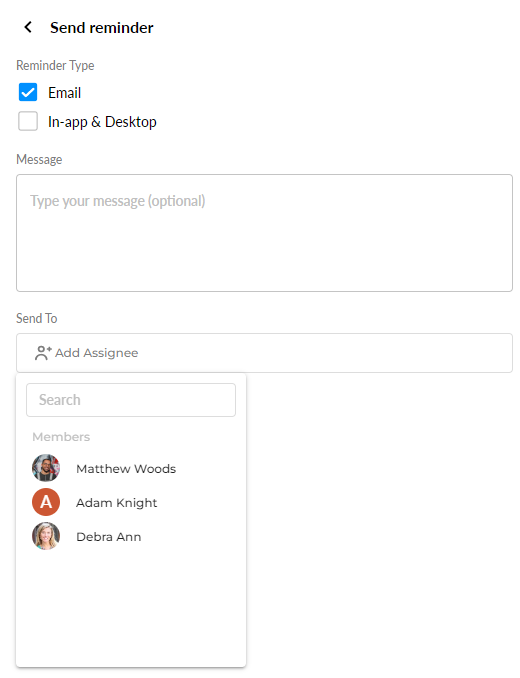
Send Reminder
Clicking on Send Reminder presents the user with the following actionable items
Selecting Reminder type which includes
- In-app & Desktop
The user can choose either to send an email, in-app/desktop reminder, or both as well.
- Message – This is an optional message that appears in the body of the Email and In-App/Desktop Notification
- Send To – The user can select what task assignees the reminder needs to be sent to. In case no assignees are selected, emails will not be triggered.
Custom Names for Rules
By default, the rule name appears as When Trigger and its condition-> Then Action
In case the user wants to give a custom name to a rule, then they can do so by tapping on the Rule name within the rule detail screen and typing in the desired name.

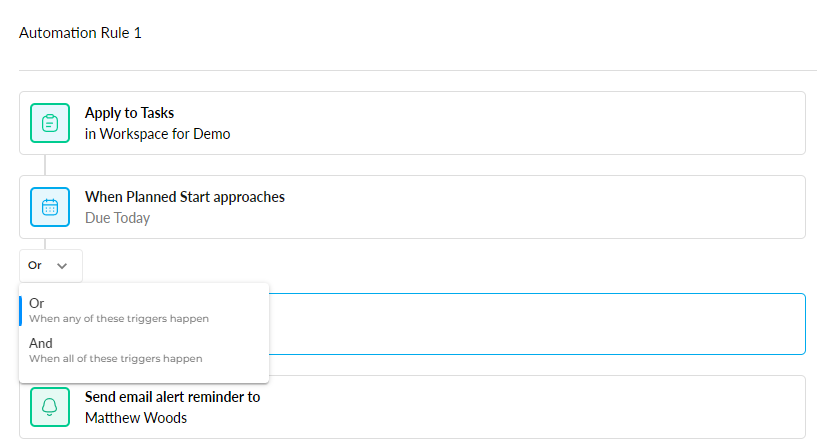
Adding Multiple Triggers
Users can add multiple triggers against each rule (currently limited to 3 triggers). While using multiple triggers, these triggers can be used as a combination with the following options:
AND Condition – This implies that each trigger in the rule must adhere to their specified conditions in order for an action to be performed.
When all of the applied trigger conditions gets satisfied, actions against all of them will get call at once.
OR Condition – This implies that either one of the triggers if satisfies its respective condition would allow the action for the rule to be performed.
As soon as any of trigger condition get satisfied, action against it will be called, similarly when some other condition of rule satisfied… set actions against them will be called too.
Users can choose AND/OR conditions after they have added more than one rule and using the AND/OR Dropdown between the triggers.
How to Duplicate, Edit or Delete an Automation Rule?
From the Automation Rule listing screen, the users can choose to duplicate existing rules, edit them and as well as delete created rules
To edit an existing rule, the user will have to tap on the rule record or row which will take them to the rule detail screen where aspects of the rule can be changed
To duplicate or delete a rule, hover over a rule and their respective icons will appear

If there’s anything you feel needs a more extensive demonstration, you can write to us at support@ntaskmanager.com. We’d be happy to assist!