Introduction
A workspace is a collection of all of your projects and other work-related attachments, pooled in one location where you can analyze and control the workflow of your team regarding specific projects.
Let us tell you how you can create single or multiple workspaces.
- The first method is pretty much the start of your nTask journey which requires you to make a Workspace in order to start working
- Click the Signup button when you visit the nTask webpage
- Once you enter all of the information required on the Signup form i.e. First Name, Last Name, Email, etc, you will be taken to the next page which is the Workspace creation popup
- Here you will have three things to fill, in to create a workspace
- You will have to enter a Workspace Name of your choice, add a Workspace URL and you can add Workspace members by filling in the emails of the members, in that section.
Upon clicking the button labeled “Create Workspace”, the mission is complete.
If you are already working in a workspace and you want to create a new one, then this is what you have to do.
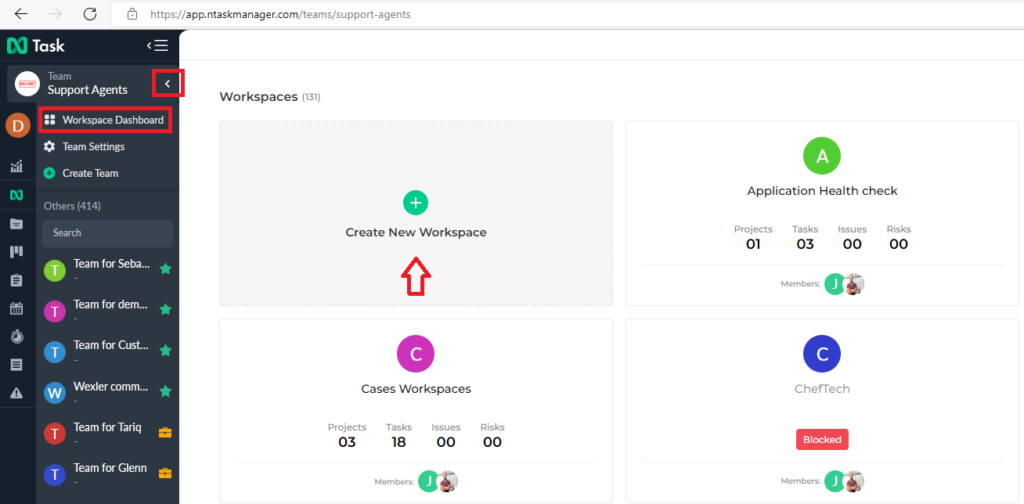
- Go to your workspace main page
- Click the workspace button and you will be presented with a popup
- There are three things on here, Workspace Settings, Create Workspace, and a list of all of the Workspaces, if you have more than one
- Go to Create Workspace
- The Add Workspace popup will appear
- Here you can add the Workspace Name and all of the parameters you entered while creating the first one
On clicking the button labeled “Create Workspace”, you will have multiple workspaces. You can switch from one to the other by clicking the workspace button and choosing the one you want to work on, by clicking it on the list.
If there’s anything you feel needs a more extensive demonstration, you can write to us at support@ntaskmanager.com. We’d be happy to assist!