Getting to know a software is the first step to understanding the value that the application is going to provide to you and how important it is for you and your team to use it. In that spirit, let us take you on a journey to understand the brilliance of one of the best project management applications on the market, nTask.
nTask is a user-friendly application that provides a structured approach for all your project management needs. Work has never been this convenient, you can get everything done with just a few clicks.
Increase your productivity as a team or as an individual with effective and efficient completion. Whether it is task management, team management, or even your own daily routine management—everything is just faster with nTask!
Take the first step by creating your own team and let success follow your work. This user guide will give you all the details you need to help you get started the right way
Understanding nTask
Introduction
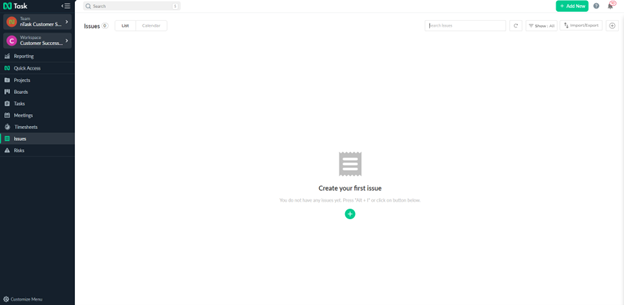
nTask just keeps on getting better! The newest version of the tool has been made simpler like never before. To get started, let’s give you a walkthrough of the dashboard starting with the Team, Workspace, Project, and Gantt Chart.
Team
The team represents your company name or business name. Once created, you can add members you want to start collaborating with and remove/disable them in the future. This is where you can perform all team management-related actions.
Workspace
A workspace could represent a specific department, division, sector, or office from your company. It is the most basic, yet at the same time, the highest-level organizational unit in nTask. Workspace is where you keep and organize all your data.
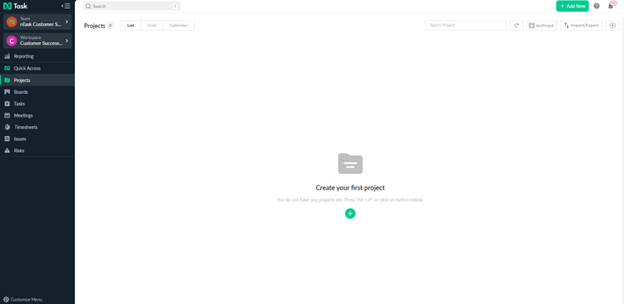
Project
A project is a series of tasks that need to be completed in order to reach a specific outcome. To help visualize the progress of each project, you can view and manage the Project Gantt Chart. This way, nTask has made project management very smooth, easy, and quick for you.
Gantt Chart
A Gantt chart is a timeline that is used to illustrate how the project will run. Gantt charts are useful in the project planning phase. You can use Gantt charts for managing workflow and adding products to the practice of your projects.
List, Grid, and Calendar View
Introduction
nTask gives you the freedom to achieve more by having multiple views. This way, it allows individuals to comfortably work according to their individual preferences. Users will be able to modify and manage projects and tasks in whichever format they like.
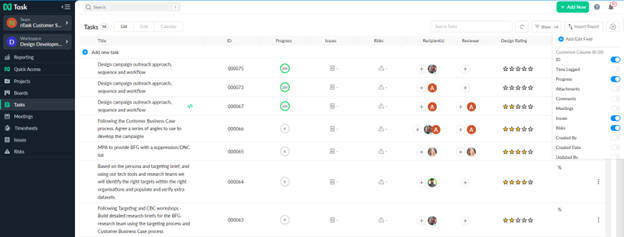
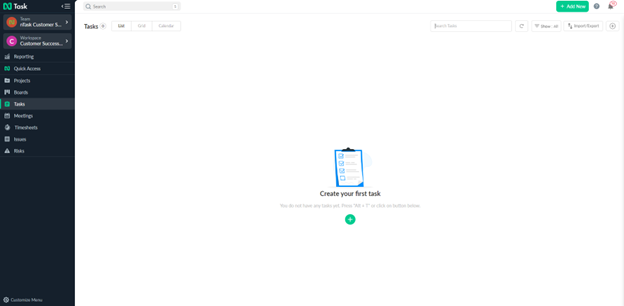
List View
This is the most common and flexible way to manage your tasks. Once tasks are created, a clear and concise view is generated by the application that displays each task along with its:
• ID
• Status
• Planned start/end dates
• Actual start/end dates
• Priority level
• Project Assignment
• Progress Percentage
• Assignees
• Time Logs
• Issues
• Risks
• Attachments
• Creation Date
Users are also allowed to add and edit fields under the List View.
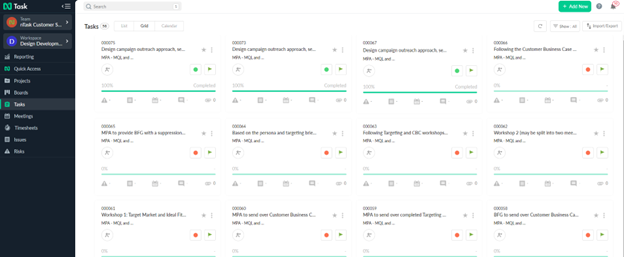
Grid View
This displays all the tasks in large boxes that aid the user to get a bird’s-eye view of each task at any given point—showing its progress, status, priority level, and assignees. The grid view is one way to quickly figure out which tasks need immediate attention and which falls under low priority. It is absolutely time-saving.
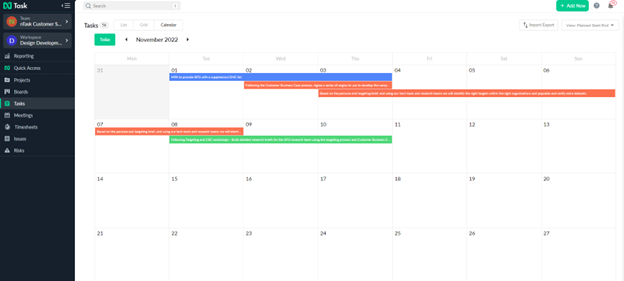
Calendar View
This is a place for resource management. nTask firmly believes that project management is impossible without proper day-to-day planning and scheduling, hence the calendar view option. This view provides you with a summary of tasks on a monthly basis. It diminishes the need for users to peer into the nuances of every task in order to determine deadlines. Users can classify the calendar view according to the tasks’ creation date or due date.
Hierarchy in nTask
Introduction
To give you the best experience, nTask allows you to fully customize your desired workflow.
Independent Flow
nTask removes any hierarchy limitations for you. Now you create unlimited stand-alone tasks, meetings, issues, and risks.
Guided Flow
This can be used when you require a more orthodox way of getting things done. Here, you create a project first following a proper hierarchy. This serves for better project planning and coordination.
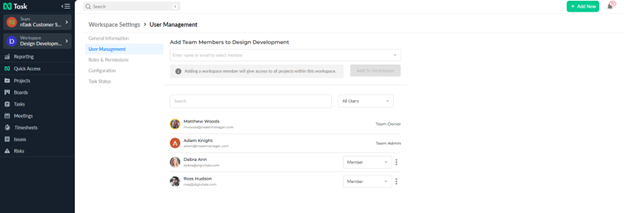
Onboarding Team Members
Introduction
Now that you understand what nTask is all about, let us give you a brief overview of how to use the tool. This quick guide will help you save time and effort. By following each step, you can get back to being productive in a blink of an eye!
• Once you have created a team, make sure to also invite your team members to your workspace
• You can create/add a new project in order to access the Gantt Chart
• You can create tasks, select assignees, log time entries, and add task details. Assigning tasks will allow you to collaborate with your team members and send/receive attachments
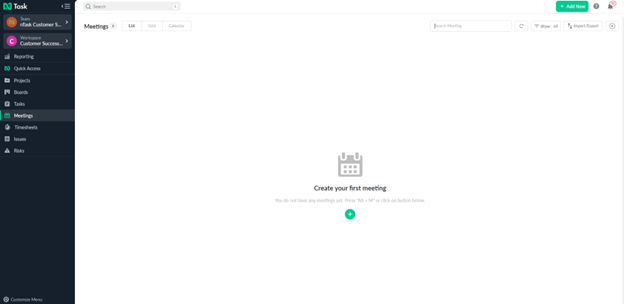
• You can create a meeting for a task, if necessary
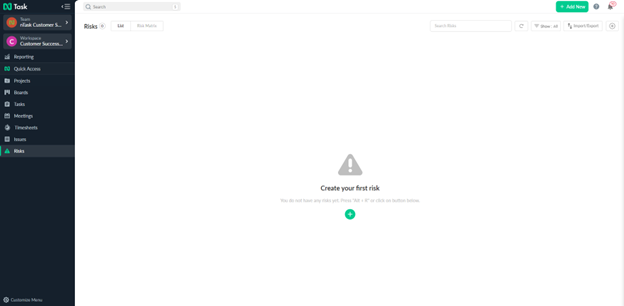
• You can create a risk for a task if there is any
• You can also create an issue for a task if there is any
Profile Settings
Introduction
By clicking on the profile icon, you will see the Profile Settings. Here, you will be able to access your personal information, account preferences, notification preferences, security details, and app integrations.
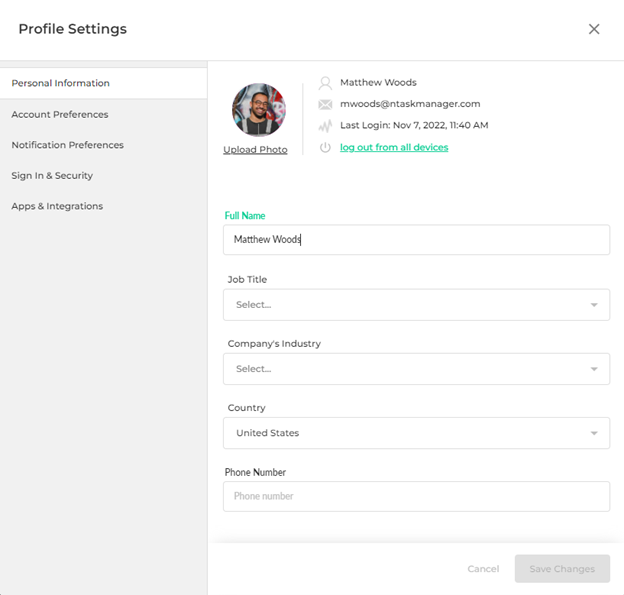
Personal Information
• In Personal Information, you can see all of the information associated with the account.
• You can change all of the information as you see fit
• You can change the First and Last Names
• You can select the Job Title and the Company’s Industry
• You can even change the Country and the Phone number associated with the account
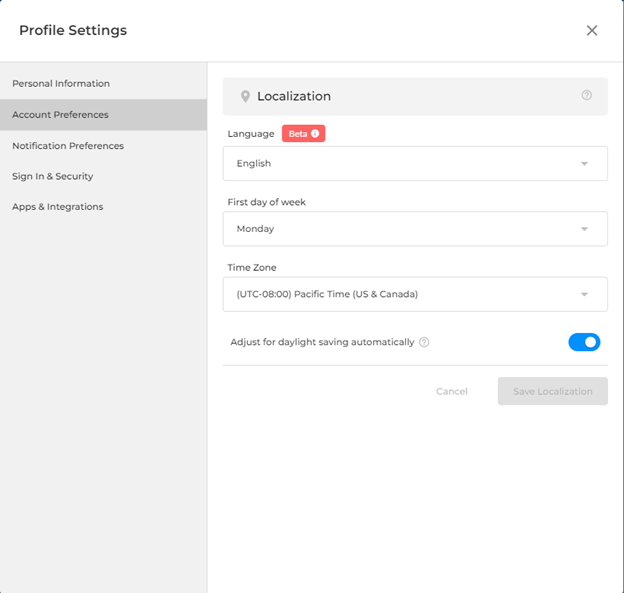
Account Preferences
• In this section, you have two settings i.e. Localization and Personalization
• In the Localization section, you can set the first day of the week according to your company’s policies
• You can change the time zone in which your company resides or where your work activities are performed
• In the Personalization section, you can set a custom background pattern for your workspace
• You can also toggle the dark mode for the workspace’s sidebar
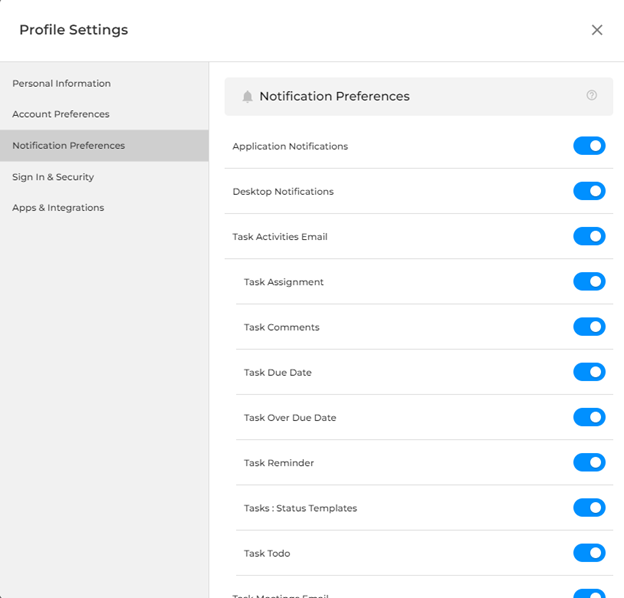
Notification Preferences
In this section, you can toggle on or off different notifications associated with the elements found inside your workspace. Some of them are:
• Application Notifications
• Desktop Notifications
• Task Meetings Email
• Timesheet Approval
• Timesheet Submission
• Issues Notifications
• Risk Notifications
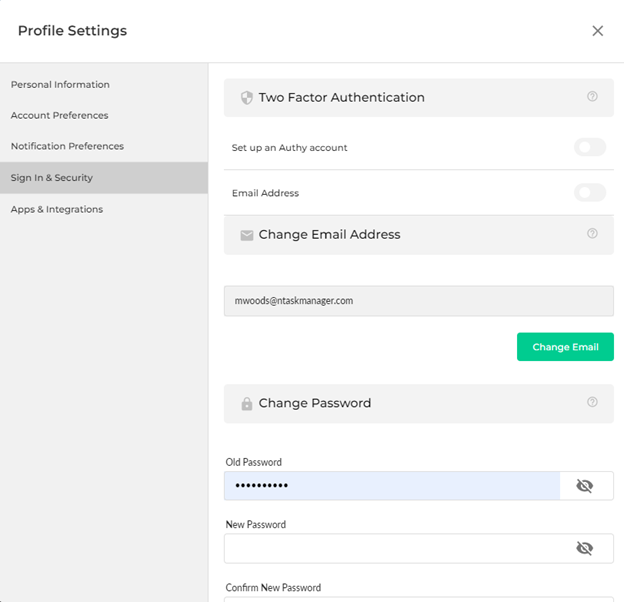
Sign-in and Security
This section contains multiple elements to be viewed and changed as necessary.
• You can set up a two-factor authentication account
• You can change the email address associated with your nTask account
• You can change the password of the account
• You can set a time-out limit
• There are also options to link your social media accounts (Facebook, Google, Twitter, LinkedIn) with a workspace

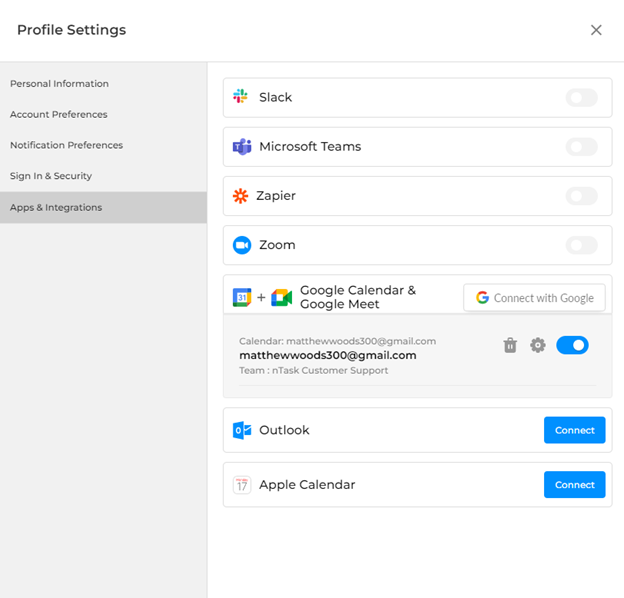
Apps & Integrations
In this section, you can link your nTask account with the following applications:
• Slack
• Zapier
• Zoom
• Google calendar
• Outlook calendar
• Apple Calendar
Integrations
Introduction
nTask incorporates integrations to make tracking your work even easier.
Slack
The nTask-Slack integration allows you to get a quick context of tasks from your nTask account. Vice versa, you can also perform nTask actions with a single click in Slack.
Zapier
Using the nTask-Zapier integration, you can automate, sync, manage, and import data from more than 1,000 applications making your life a lot easier and more productive.
Calendars
Using your Google, Apple, or Outlook calendar, you can see all your tasks, created issues and meetings in a central location depending on the calendar you use.
In-App Support
Introduction
nTask has an amazing Customer Support Team that can resolve any issues and answer any questions you may have regarding your nTask account. You can send them your queries and feedback in two ways:
- By clicking on the Profile icon, you will see a section labelled “Send Feedback”. This is where you can type in any feedback regarding your experience in using nTask
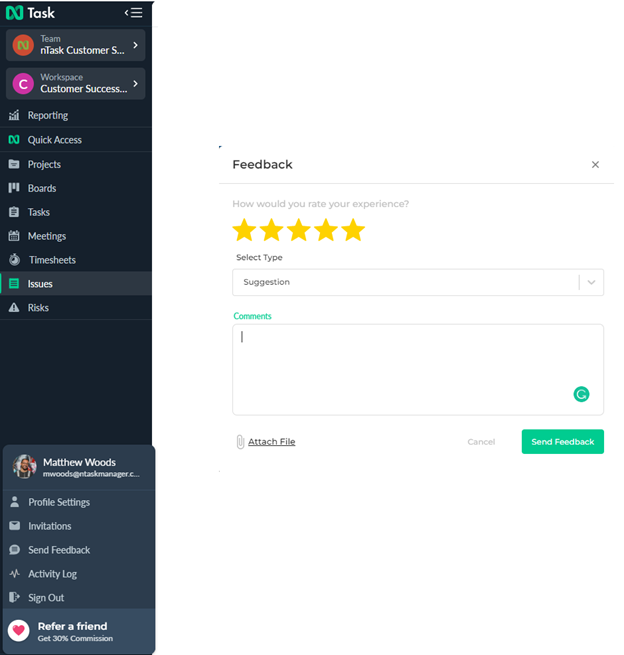
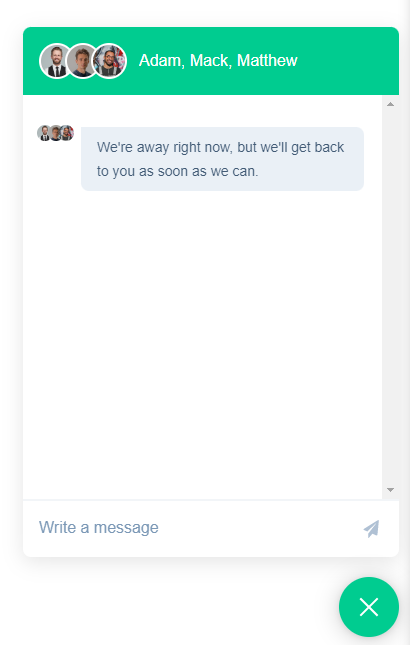
- By clicking on the chat icon found in the lower right corner of your dashboard, you can directly communicate with the team. This will show a pop-up wherein you can start a conversation for any concerns or questions you might have. You will receive a response from one of our Customer Success Associates in real time
If there’s anything you feel needs a more extensive demonstration, you can write to us at support@ntaskmanager.com. We’d be happy to assist!